3 Easy Steps to Great Portraits || Toronto Photographer || CopperRed

So you are trying to shoot better photos in less time, what photographer isn't right?

Use these 3 Steps to help produce a faster, more productive workflow.


Step 1. Great Light

Finding great light to work with is key. If you put your subject in the right light you will save yourself a whole ton of work. 

So what is 'Great Light'? 
This obviously depends on the end product you are going for artistically, but generally speaking it is diffused or reflected light. 

Putting your subject in harsh, direct sunlight creates those strong shadows all over the face. 
So where do you find this light? 

A. Clouds!
On a cloudy day you are blessed with these amazing natural diffusers. Of course this hurts other creative opportunities light crazy lens flares but its a great tool to allow you to shoot almost anywhere. 
 
B. Open shade! 
Look around you. You are never far from some type of shade if you get creative. Look at the sides of buildings, fences, trees and so on. 

C. Backlit
If the sun is out work with it. Put the sun behind your subject. You will have to practice the focusing for this if the sun is super strong but you get the hang of it. That's a whole different blog topic lol. 

D. Use objects to hide/diffuse the sun. 
You can use a tree or building or your subject themselves to hide the sun in your frame so it is not directly hitting your lens. Just play around with your angle and boy position. 

E. Time of day
I aim to shoot all my portrait sessions during the 'Golden Hour'. This is the first hour after sunrise or the final hour before sunset. It give the most golden glows and beautiful lighting. It also allows you to have your subjects practically anywhere. 

Toronto_Fine_Art_Portrait_Photographer_CopperRed_Photography

Step 2. Use The Right Colour Reflectors

When you are shooting outside you have to deal with the light reflecting off of everything around your subject and bouncing it onto them.

Have you ever done a family shoot in a beautiful park and found that in your photos the skin tones are a horrible shade of green? This is because all the light is bouncing off of the grass and tree leaves and throwing it onto your subjects. 

So keep in mind what colours your subject is surrounded by. If you want to shoot under trees for shade then head for the trees that are maybe overhanging a grey pavement or a brown path on a trail.

Your best reflectors when shooting people would be light in colour, white, cream, grey, and browns. 

Toronto_Portrait_photographer-CopperRed

Step 3. Wide Aperture! Wide Aperture! Wide Aperture!

That's right let me say it one more time, Wide Aperture! lol. 

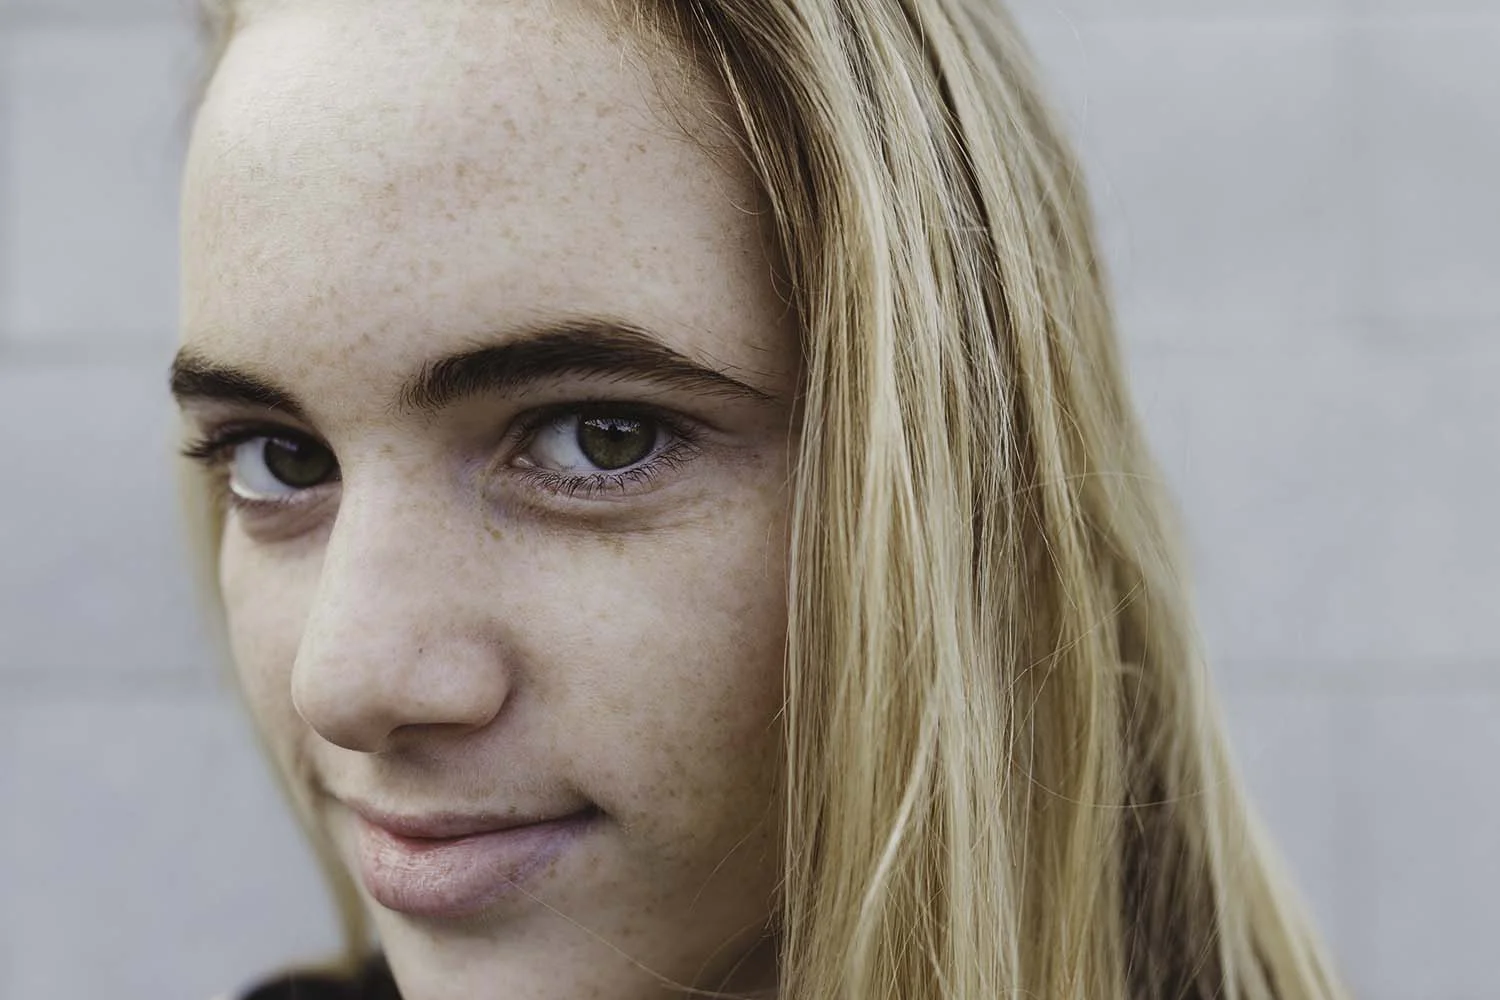
You want to know a key thing that makes other photographers portraits pop...it's wide aperture. 

Wide aperture is the lower numbers f2.8/3.5/4.0. Depending on whether you are shooting a single subject as opposed to multiple subjects will have some sway over how wide you will go. 
With a couple for example, if you want to shoot at f2.8 you will have to shoot from further away or else you wont get them both in focus. Again that's a topic for another blog. 

Generally speaking if I am shooting one subject I aim to be at an aperture of 3.5 or 2.8. 
This gives me the soft background effect (bokeh) and draw the attention right to my subject. 

The distance of your subject from an object, such as a wall, will affect how strong the bokeh is. 
Tip - Bring your subject a couple of meters off the wall, flowers, trees and so on if possible to increase the bokeh. 


Bonus Points...

Toronto-portrait-photographer-copperred-photography

Get Creative...Use Movement

Toronto-Portrait-Photographer_Copperred-Photography

Change Your Angle...New Perspective

Toronto-fine-art-portrait-photographer-copperred-photography

Go experiment!

Feel free to post before and after photos in the comments or ask questions.